How to Install a Sliding Door: A Step-by-Step Guide


Sliding doors fantastic way to save on useable space in any home, providing space-saving functionality and a sleek look. Whether you’re installing a sliding door as part of a renovation or replacing an existing door, this guide will take you through the process step by step.
Tools and Materials for Installing Sliding Door
Before you begin, make sure you have everything you need for the installation:
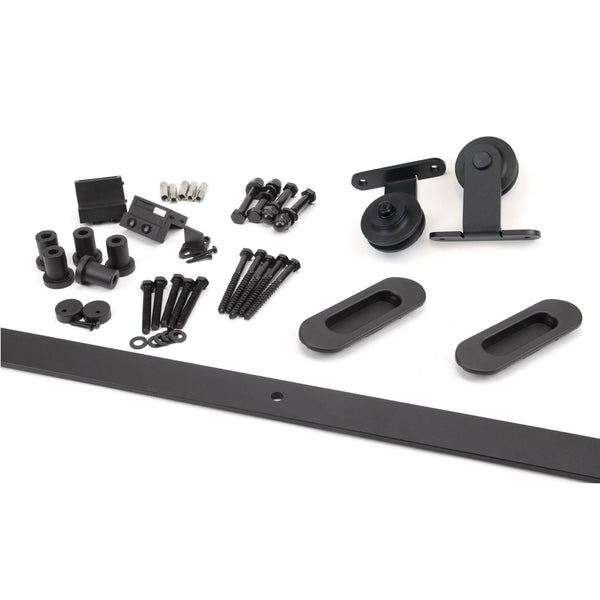
• Sliding door kit (includes door panels, tracks, and hardware)
• Measuring tape
• Pencil
• Level
• Drill with drill bits
• Screwdriver
• Screws and wall plugs (if required)
• Safety glasses and gloves

1. Measure the Doorway
Accurate measurements are crucial to ensure your sliding door fits properly:
Width and Height
Measure the width and height of the doorway or opening where the sliding door will be installed.
Clearance
Check for adequate space on either side of the doorway to allow the door to slide open fully.
2. Prepare the Area
Get the area ready for installation:
Clear the Space
Remove any furniture or obstacles near the installation area.
Check the Surface
Ensure the floor is level and smooth where the door will slide.
3. Install the Top Track
The top track is essential for guiding the door’s movement:
Mark the Position
Use a level and pencil to mark where the top track will be installed, typically just above the doorway.
Drill Holes
Drill pilot holes at the marked positions to make installation easier.
Attach the Track
Secure the top track to the wall or ceiling using screws. If mounting into drywall, use wall plugs for extra support.

4. Install the Bottom Guide
The bottom guide ensures the door stays aligned:
Position the Guide
Place the bottom guide on the floor, directly below the top track.
Mark and Drill
Mark the screw holes, drill pilot holes, and secure the guide to the floor.
5. Hang the Door
With the tracks in place, it’s time to hang the door:
Attach the Rollers: Fix the rollers to the top edge of the door panel as per the sliding door kit instructions.
Lift the Door
Carefully lift the door panel and insert the rollers into the top track.
Fit the Bottom
Align the bottom of the door with the floor guide to keep it stable.
6. Test and Adjust
Make sure everything operates smoothly:
Slide the Door
Move the door back and forth to test its operation.
Adjust if Necessary
If the door doesn’t slide smoothly or is uneven, adjust the rollers or guides until it moves freely.
Install Door Stops
Add door stops to the tracks to prevent the door from sliding too far.
7. Add Finishing Touches
Complete the installation with these final steps:
Attach Handles
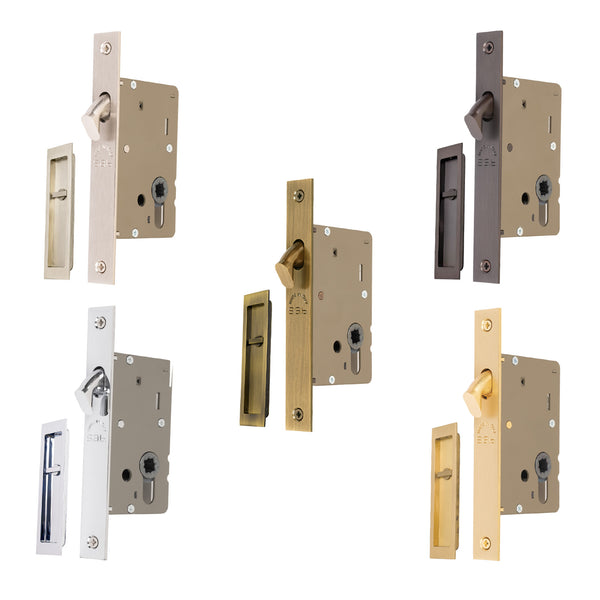
Install the door handles or pulls included in your kit or take a look at our range of handles & pulls for sliding doors and pocket doors.
Check Alignment
Ensure the door is level and aligned correctly.
Clean the Area
Remove any dust or debris from the installation process and give the door a quick clean.

Why Choose a Sliding Door?
Sliding doors are a fantastic way to save space and add a modern touch to your home. They’re ideal for rooms where traditional swinging doors would take up too much room, such as wardrobes, bathrooms, or compact living spaces. With their sleek design, sliding doors can also create a seamless transition between rooms or indoor and outdoor spaces.
Comments


Understanding the differences between matt bronze and matt black colours of door handles.
Read Article


